How to Program the TX-E201 to the IQ Panel 2
Please follow the steps below to connect your wireless Interlogix TX-E201 door/window sensor to the IQ Panel 2.
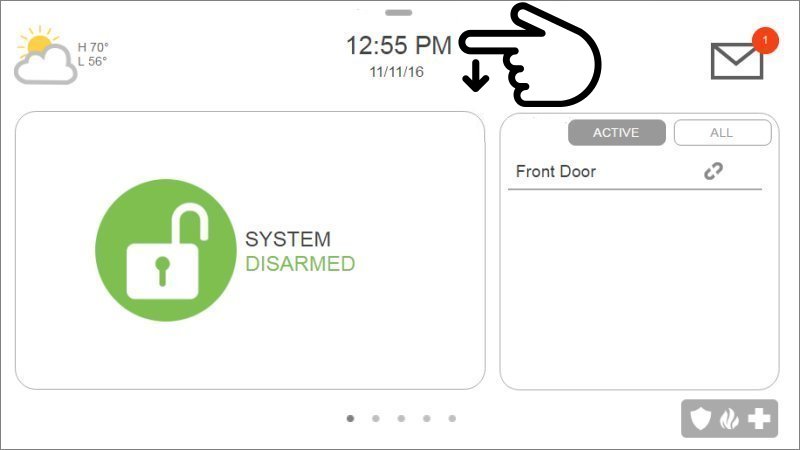
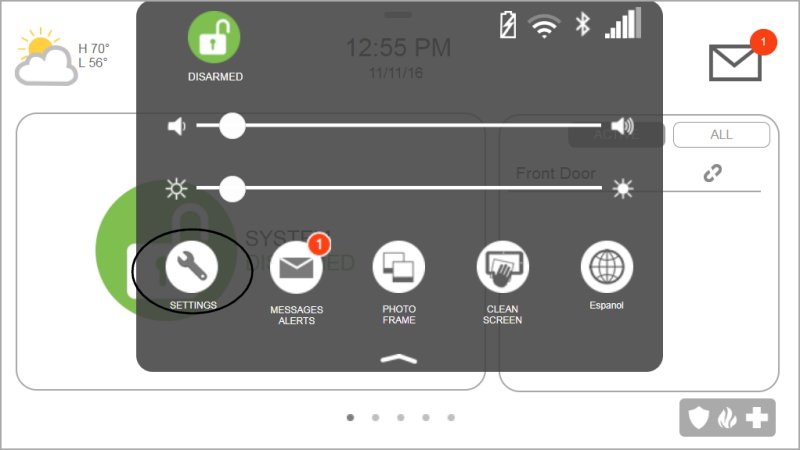
1. Swipe down from the clock display to show the Settings Menu, press Settings.
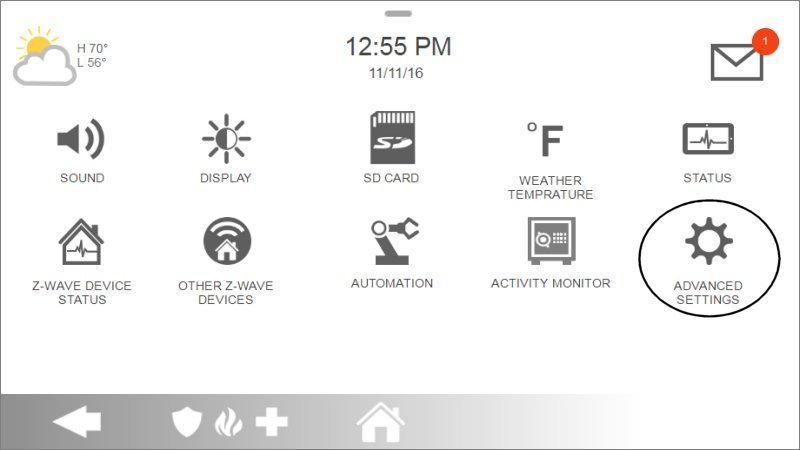
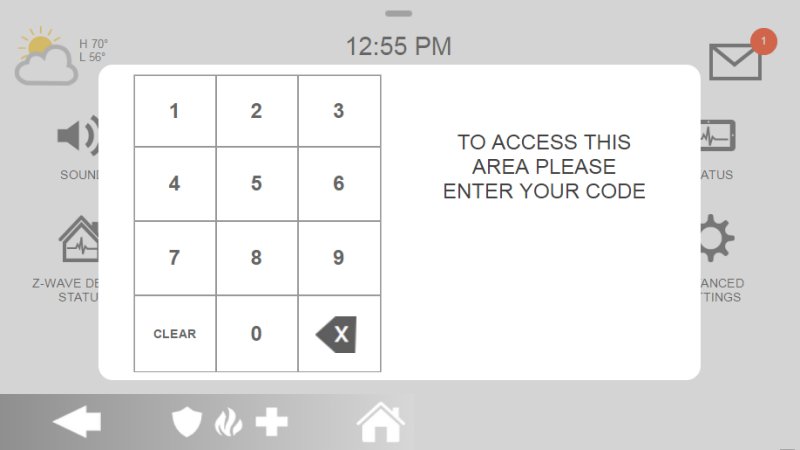
2. Press Advanced Settings, then enter the default installer code 1111 or 2222.
3. Press Installation, then Devices.
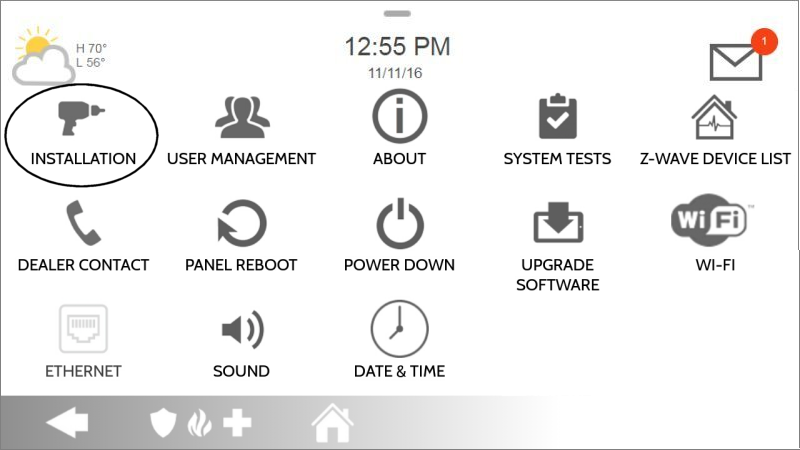

4. Press Security Sensors, then Auto Learn Sensors.


5. Open the sensor cover to learn, then press Ok to confirm.


6. Enter sensor settings, press Add New to save, then Home to exit.

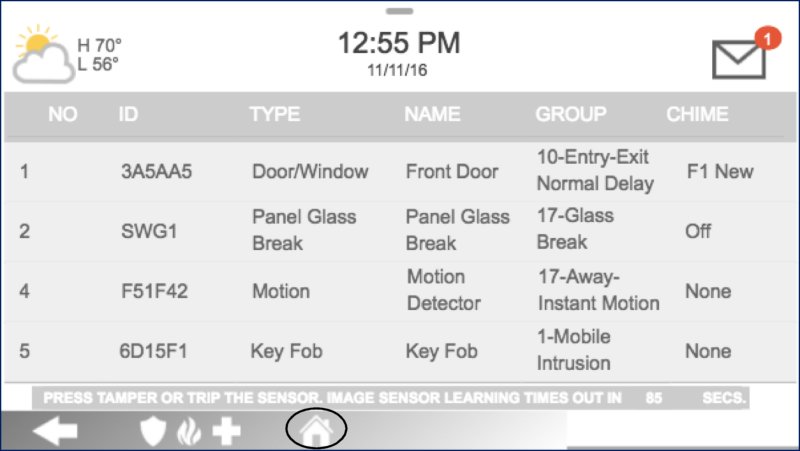
Sensor Information:
- • Sensor DL ID: Don't touch this option.
- • Sensor Type: Select Door/Window.
- • Sensor Name: Select an appropriate name or create a custom description.
- • Chime Type: This allows you to apply a specific sound to your device when it’s used.
- • Sensor Group: Choose “10” for an entry delay or “13” for instant.
- • Voice Prompts: This allows you to turn on or off the vocal chime.